Water Bath vs. Pressure Canning: Which One Do You Actually Need?
If you’ve been wanting to start canning but keep second-guessing yourself, this question has probably stopped you cold: do I need a water bath canner or a pressure canner?
The good news is this isn’t as complicated as the internet makes it sound. Once you understand the one thing that determines which method you use — acidity — everything else falls into place.
Here’s what you actually need to know.
The One Rule That Governs All of Home Canning
Every food you can at home falls into one of two categories: high-acid or low-acid. That single factor determines which method is safe to use. There’s no overlap, no exceptions, and no room for guessing.
The dividing line is a pH of 4.6. Foods at or below that pH are high-acid. Foods above it are low-acid.
Why does this matter? Because of one very specific bacteria: Clostridium botulinum. The spores that produce botulinum toxin cannot grow in a high-acid environment — the acidity stops them. But in a low-acid, oxygen-free environment (like a sealed canning jar), those spores can activate and produce one of the most dangerous toxins known. Botulism is rare, but it’s serious enough that every canning safety guideline is built around preventing it.
Here’s the key fact: boiling water reaches 212°F, which is not hot enough to destroy botulinum spores in low-acid foods. To do that, you need 240°F — a temperature only achievable under pressure. That’s why you need a pressure canner for low-acid foods, and why substituting a water bath canner for those recipes is genuinely dangerous, not just a technical violation of the rules.
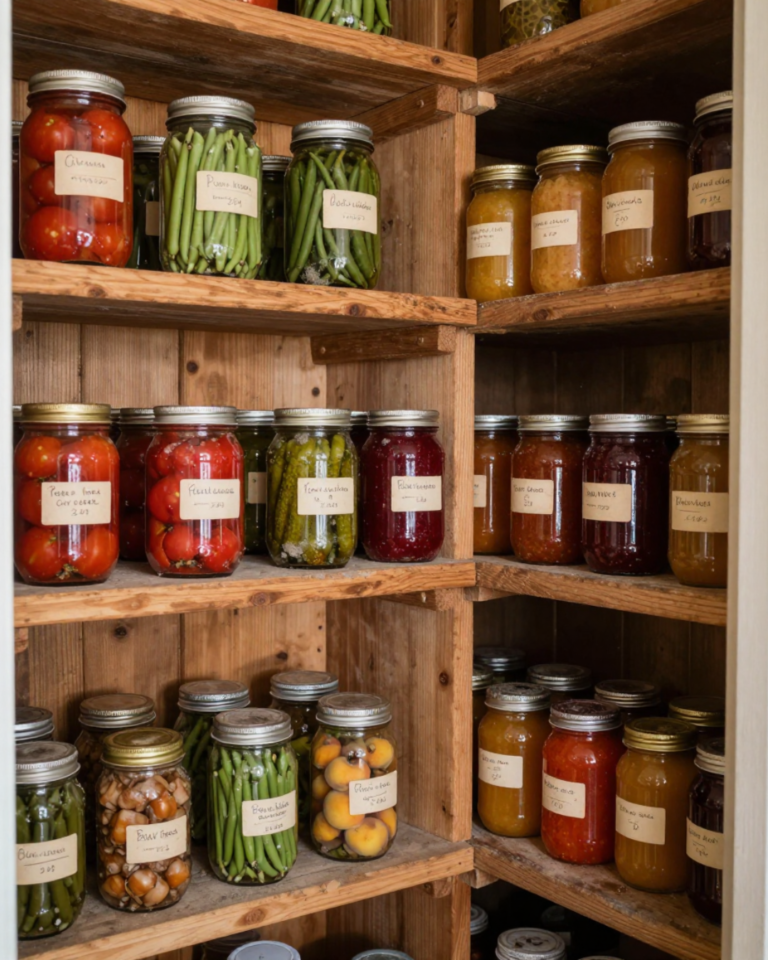
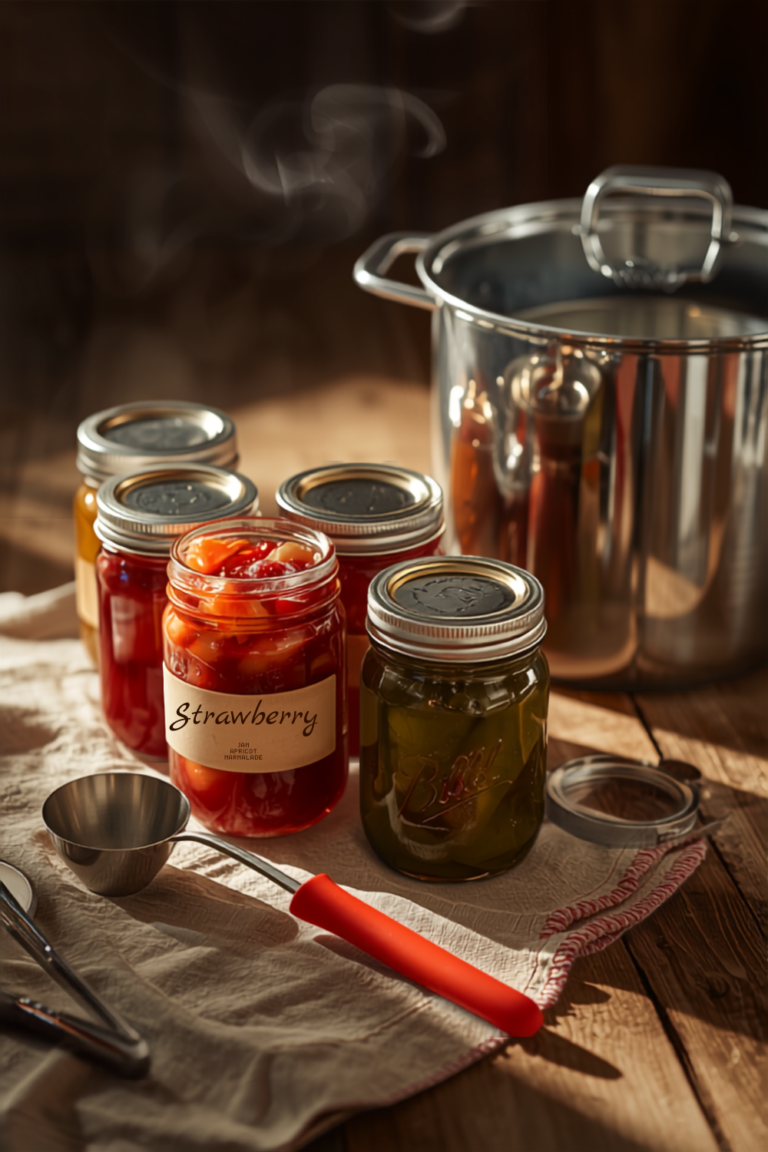
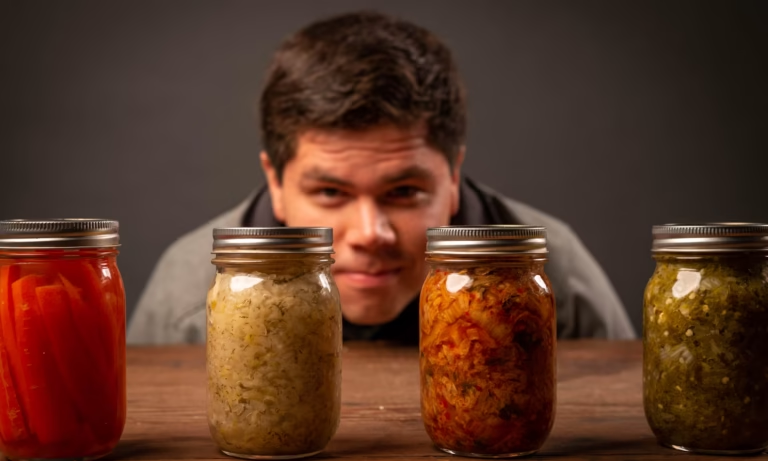
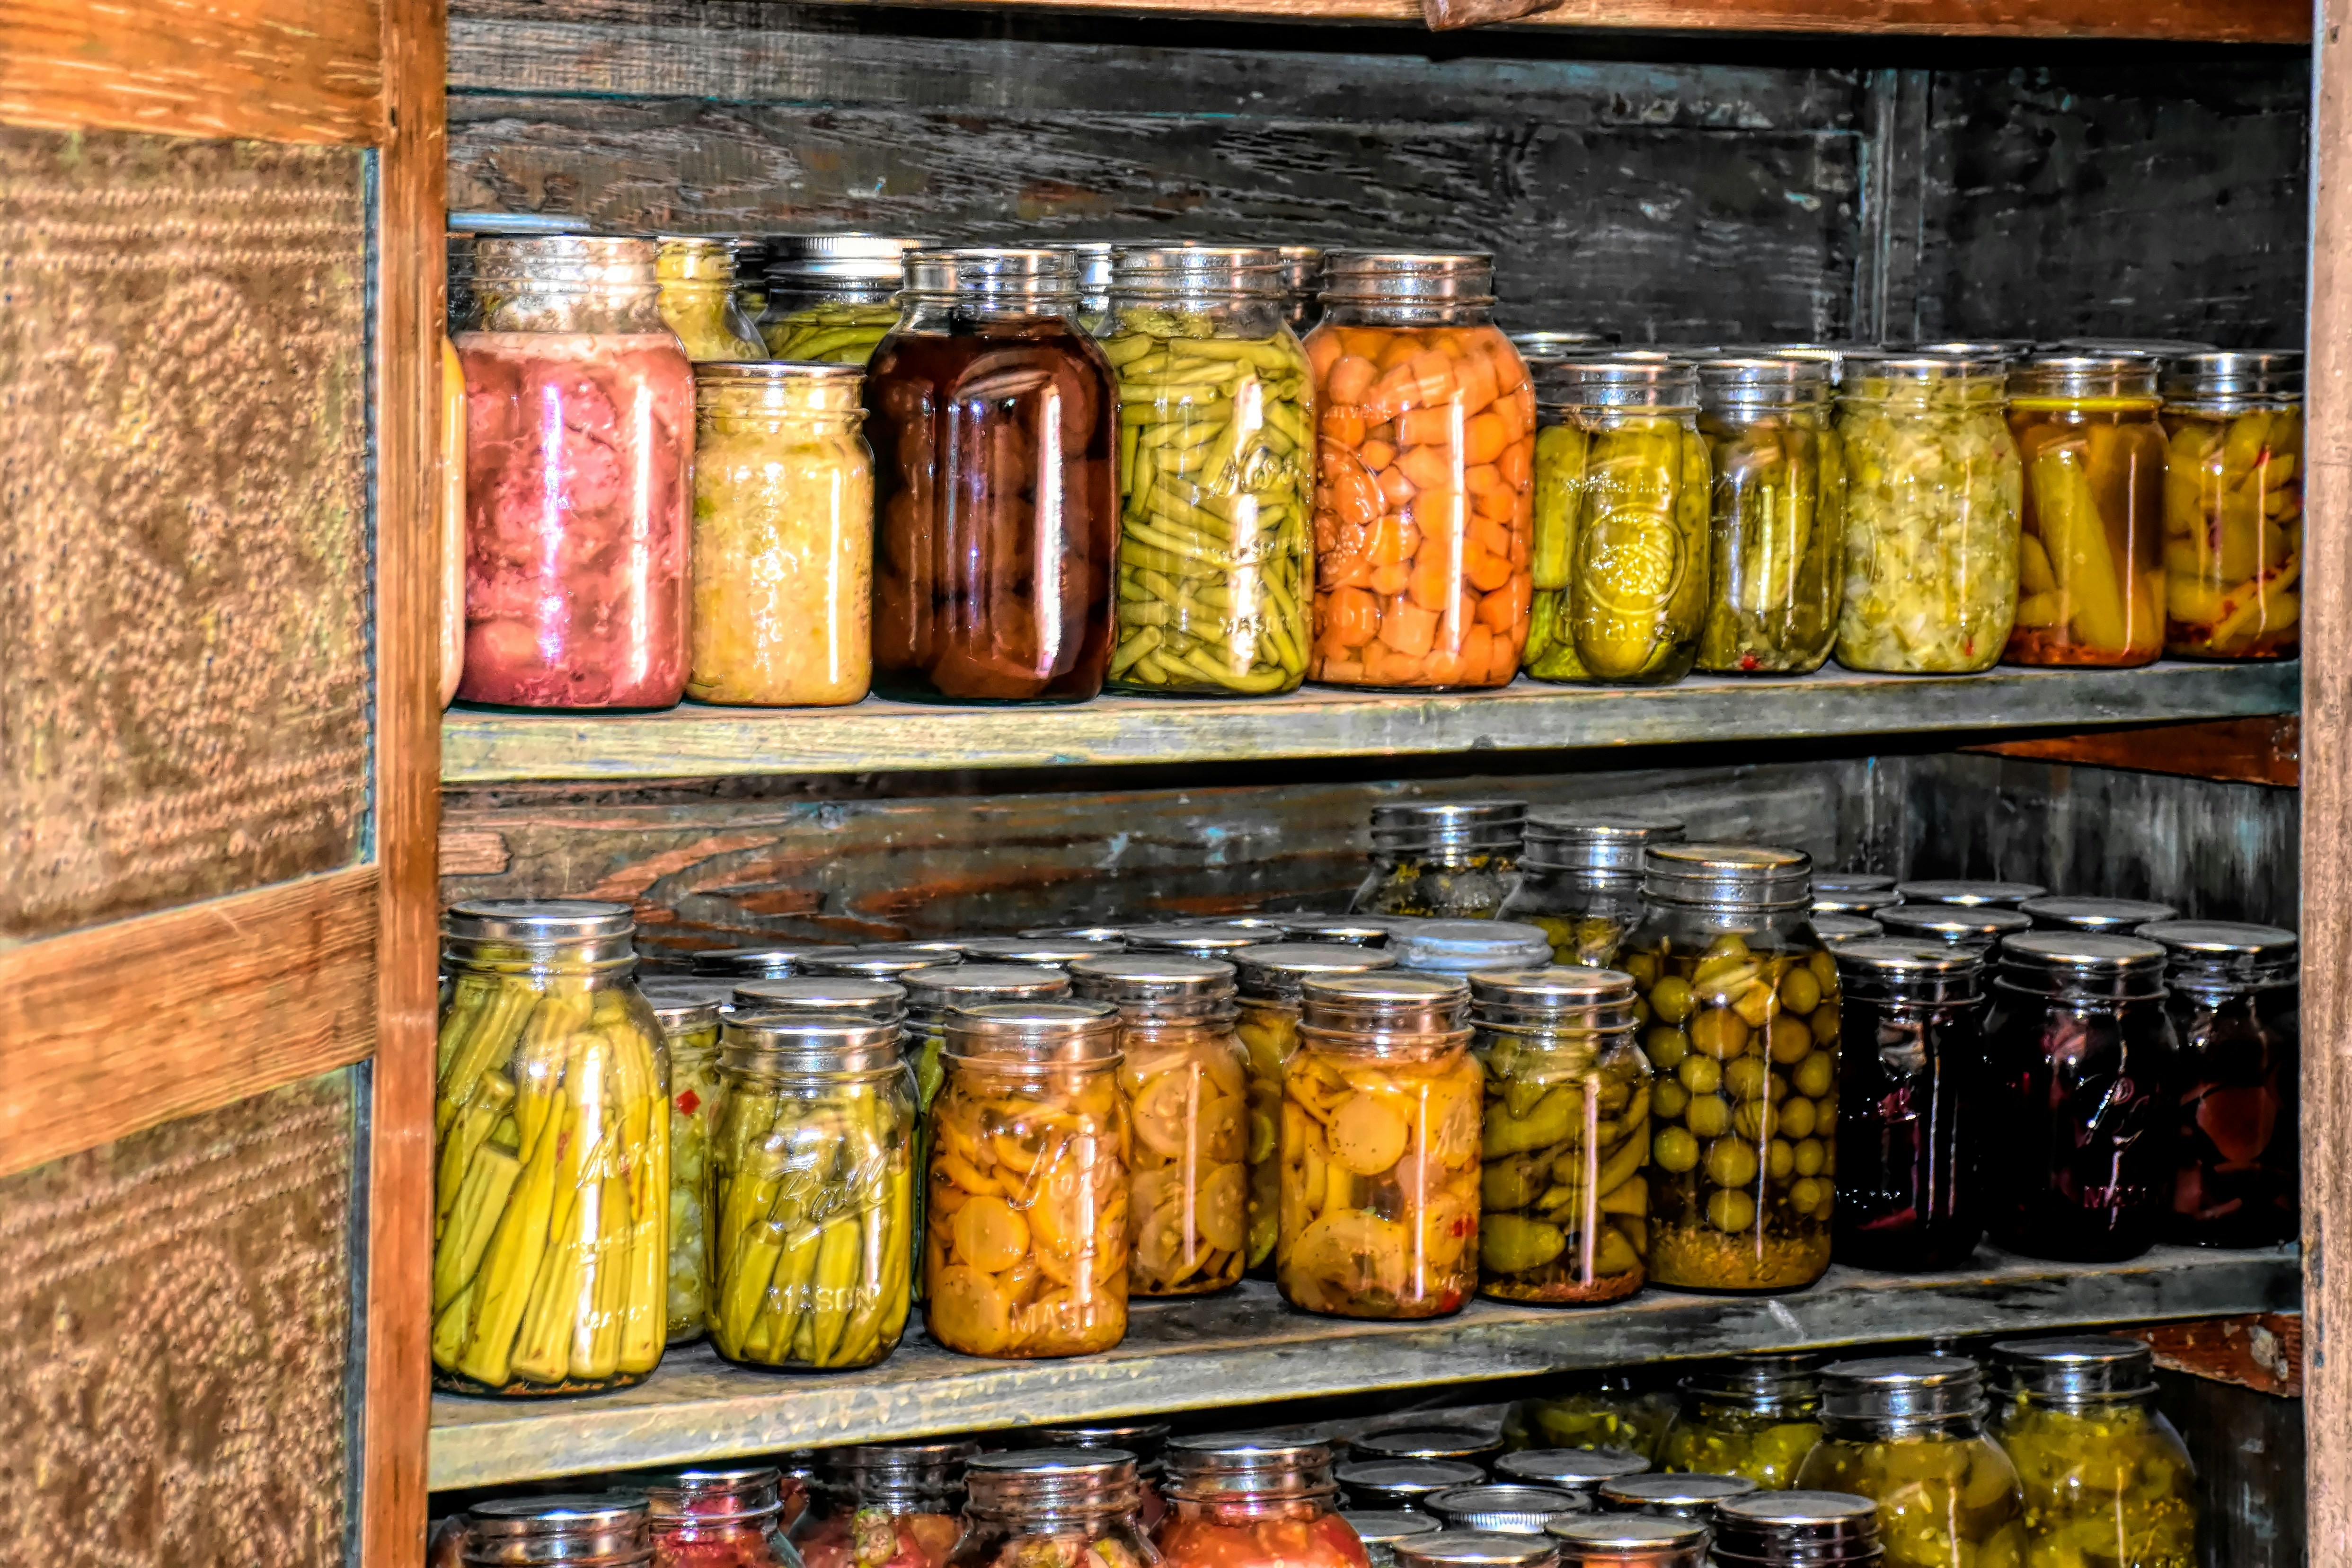
Water Bath Canning: What It Is, What It’s For
Water bath canning is exactly what it sounds like: you submerge sealed jars in boiling water and process them for a set amount of time. No special equipment beyond a large, deep pot and a rack to keep jars off the bottom.
Use water bath canning for high-acid foods (pH 4.6 or lower):
-
Fruits — jams, jellies, pie fillings, whole or sliced fruit
-
Pickles — cucumber pickles, pickled vegetables with enough added vinegar
-
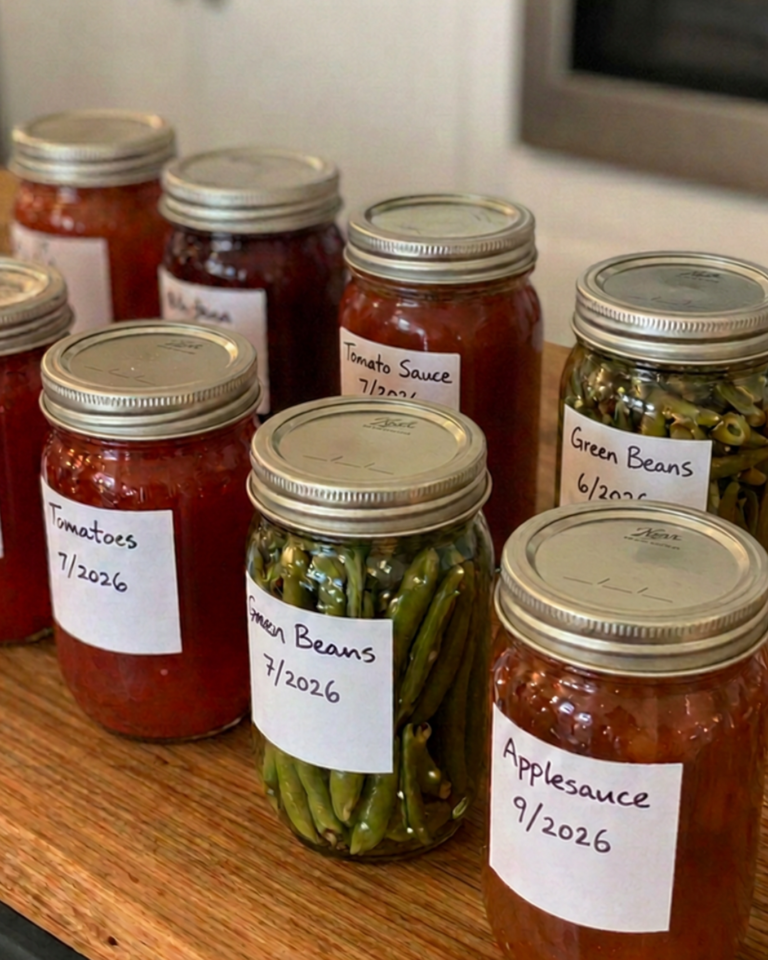
Tomatoes — with added acid (more on this in a moment)
-
Salsas and relishes made with tested recipes
-
Fruit butters and marmalades
The natural or added acidity in these foods creates an environment hostile to botulinum spores. Combined with the heat of boiling water, this makes them shelf-stable and safe when processed correctly.
What you need to get started:
-
A large stockpot at least 3–4 inches deeper than your tallest jar (jars need 1–2 inches of water covering them)
-
A canning rack to hold jars off the bottom and allow water to circulate
-
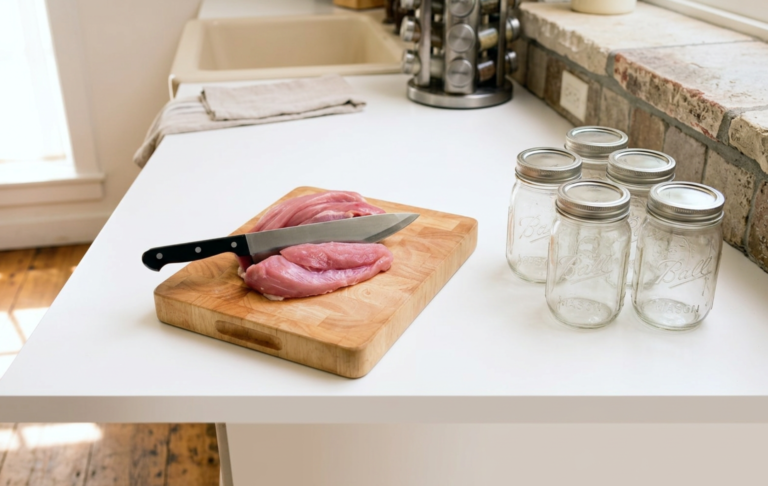
Mason jars with new lids
-
A jar lifter, canning funnel, and bubble remover/headspace tool — often sold as a kit for $10–$15
That’s genuinely it. Water bath canning is the most accessible entry point into home food preservation, and most people can get started for under $40 in equipment if they don’t already own a suitable pot.
Pressure Canning: What It Is, What It’s For
A pressure canner is a heavy-duty pot with a locking lid, a pressure gauge, and a vent pipe. When sealed and heated, it builds up steam pressure inside, which raises the temperature above 212°F — high enough (240°F and above) to destroy botulinum spores in low-acid foods.
Use pressure canning for low-acid foods (pH above 4.6):
-
All vegetables — green beans, corn, carrots, potatoes, beets, squash
-
All meats, poultry, and fish
-
Dried beans and legumes
-
Soups, stews, and mixed meals
-
Some tomatoes (when not acidified — more below)
The equipment investment is higher — a quality pressure canner runs $80–$300 depending on the brand and size — but it’s a one-time purchase that lasts for decades and opens up the full range of home canning. Once you’re comfortable with water bath canning, pressure canning isn’t nearly as intimidating as it looks.
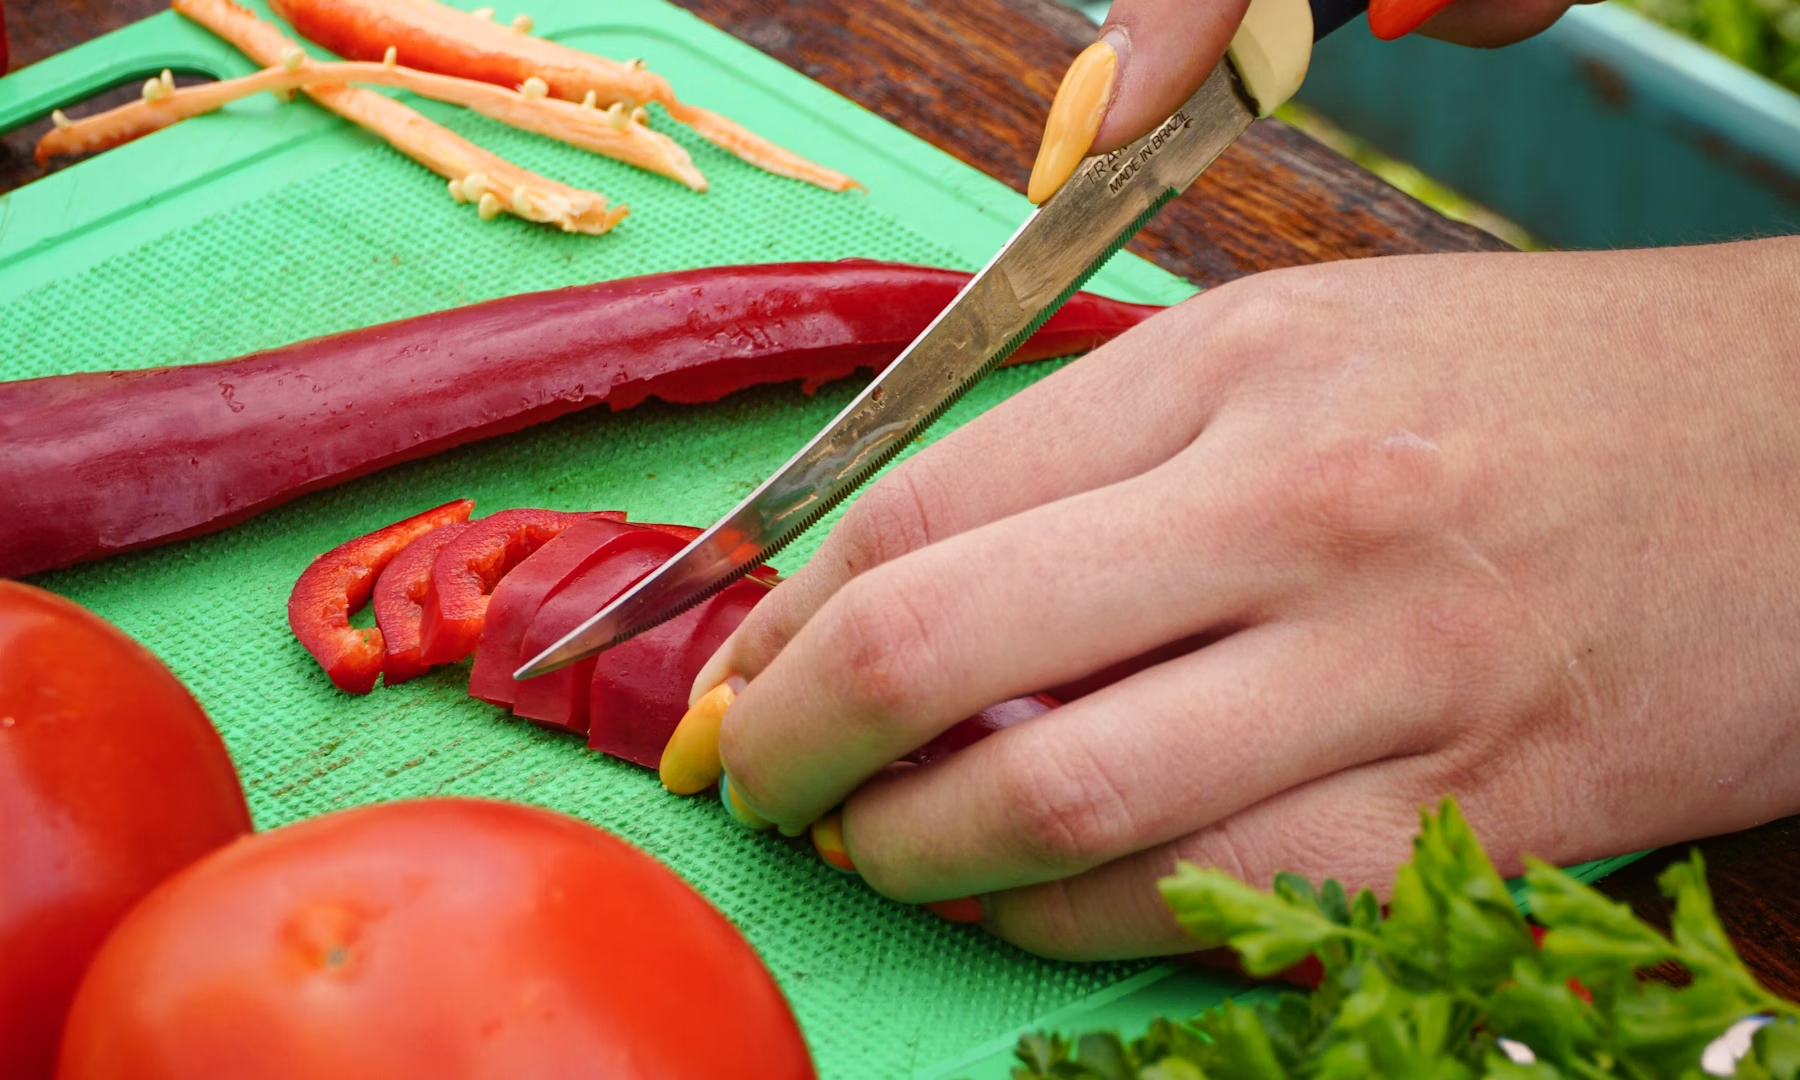
The Tomato Question (Everyone Gets This Wrong)
Tomatoes sit in a frustrating gray zone. Botanically, they’re acidic — but modern tomato varieties have been bred for sweetness, which means lower acid content. Many tomatoes now have pH values that straddle the 4.6 safety line.
The USDA’s position is unambiguous: add acid to all home-canned tomatoes, every time, regardless of variety.
The standard additions are:
-
Bottled lemon juice: 2 tablespoons per quart, 1 tablespoon per pint
-
Citric acid: ½ teaspoon per quart, ¼ teaspoon per pint
Use bottled lemon juice, not fresh. Fresh lemon juice has variable acidity; bottled has a standardized, guaranteed pH. That consistency matters when food safety is involved.
With the correct added acid, tomatoes can be processed in a water bath canner. Without it, they must be pressure canned or you’re taking a real risk.
What About Altitude?
If you live above 1,000 feet in elevation, you need to adjust your processing for both methods — and the adjustment works differently for each.
Water bath canning at altitude: Add more processing time. Water boils at a lower temperature at higher elevations, so you extend the time to compensate.
Pressure canning at altitude: Add more pressure (not more time). The time in tested recipes is correct; what changes is the PSI needed to reach the proper temperature at your elevation.
For weighted-gauge pressure canners, the practical guidance is simple: use 10 lbs of pressure at sea level to 1,000 feet, and 15 lbs above 1,000 feet (there’s no in-between weight option on standard gauges).
If you have a dial-gauge pressure canner, get that gauge tested annually at your local cooperative extension office. An inaccurate dial gauge means your canner may not actually be reaching the pressure — and temperature — the recipe requires.
Common Beginner Mistakes to Avoid
Using a water bath canner for low-acid foods. This is the most dangerous mistake in home canning. Green beans, corn, and carrots cannot be safely water bath canned, period. The same goes for any soup or mixed dish containing low-acid vegetables or meat.
Not adjusting for altitude. If you live above 1,000 feet and skip the adjustment, you may be under-processing your food — meaning the center of the jar never reached a safe temperature.
Skipping the acid addition for tomatoes. Fresh-from-the-vine tomatoes may test fine, but the USDA recommendation exists because variety, ripeness, and even whether the vine was dead at harvest all affect pH. The addition is cheap insurance.
Cooling a pressure canner under running water. This feels like a time-saver but it’s not — it can cause siphoning (liquid loss from jars) and breakage, and it actually cuts short part of the processing time that’s built into the cool-down period.
Starting the timer before full steam venting. Pressure canners need to vent steam continuously for 10 minutes before you close the vent and let pressure build. Skipping this leaves air pockets inside that prevent the canner from reaching proper processing temperature.
Which One Should You Start With?
Start with water bath canning if you want to ease in. A batch of strawberry jam or bread-and-butter pickles will teach you headspace, jar prep, the sound of a proper seal, and the rhythm of the process — with less equipment and lower stakes. Build that confidence first.
Move to pressure canning when you’re ready to preserve vegetables, beans, or meals. It uses the same fundamentals (sterile environment, proper headspace, tested recipes, altitude adjustment) with one addition: monitoring pressure and time together.
Most experienced home canners end up doing both. They’re not competing methods — they’re complementary ones, each matched to a different category of food.
Ready to Start Canning?
If you’re a beginner and want a clear, practical guide that walks you through water bath and pressure canning in one place — with five tested recipes, a troubleshooting section, and an altitude adjustment chart — my Home Canning for Beginners guide covers exactly that.
It’s a 22-page instant download PDF written from real canning experience — not aggregated from other websites. You’ll learn the process, understand the safety reasoning behind each step, and have recipes you can actually use your first season.
Get the Home Canning for Beginners Guide →
Have a question about which method is right for a specific food? Drop it in the comments — I’m happy to help you figure it out.