How I Organize My Homestead Pantry (It’s Not Pretty But It Works)
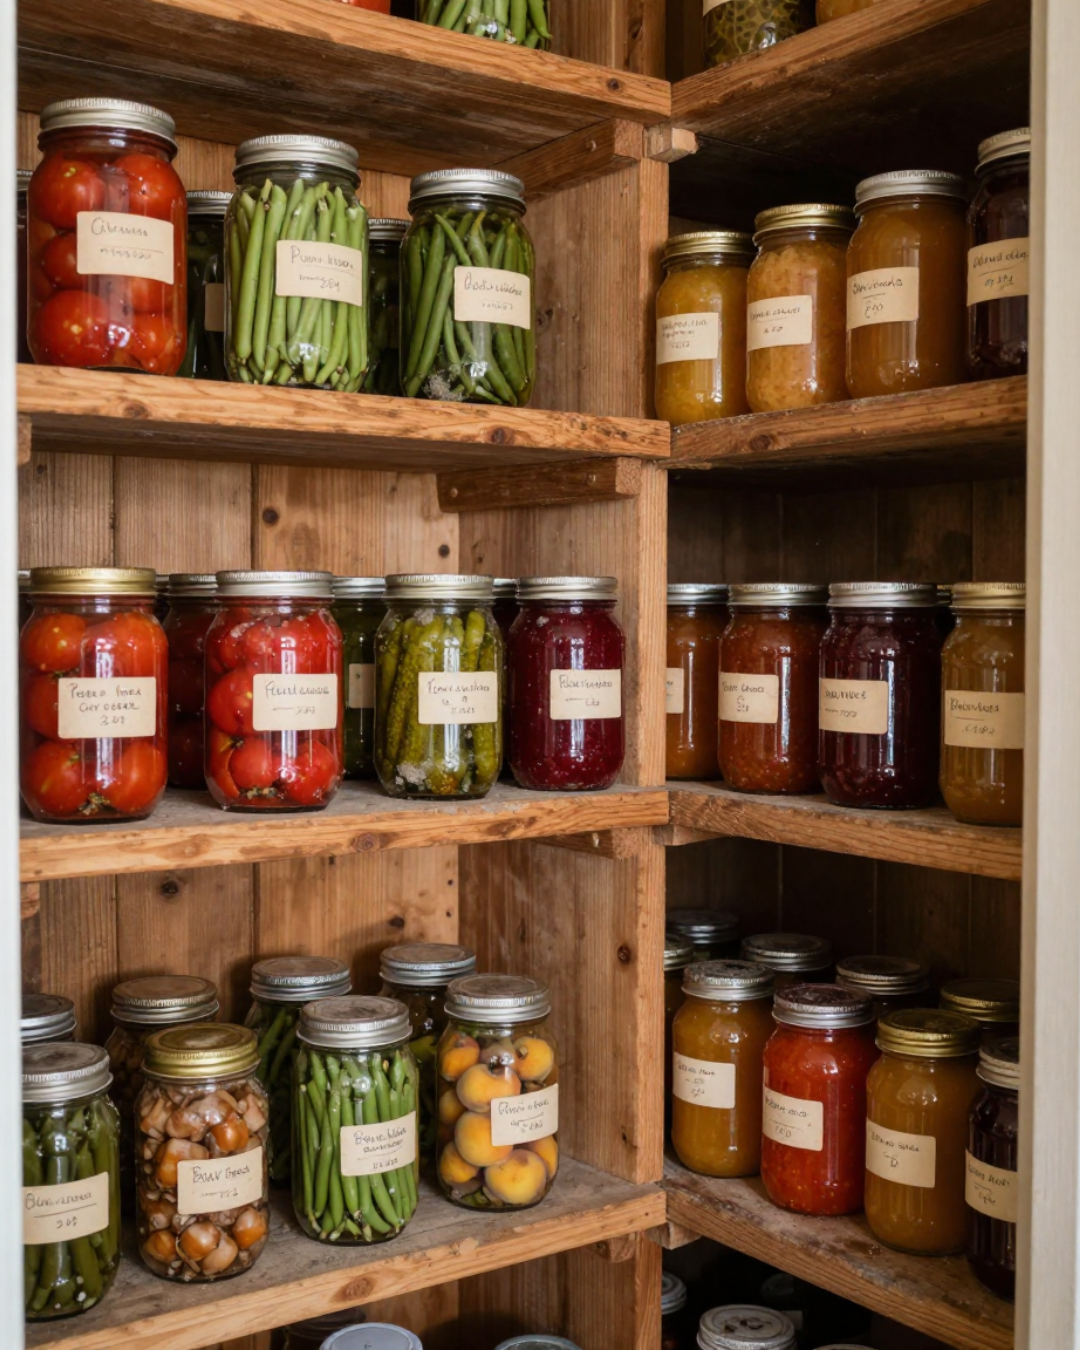
I’m just going to say it — my pantry doesn’t look like the ones on Pinterest. There are no matching glass jars with chalkboard labels, no color-coded shelves, no aesthetic flat lays. What I have is a basement full of home-canned jars, five-gallon buckets of flour and beans, and enough food to get my family through most of a year. It’s functional, it’s organized in a way that actually makes sense for how we live, and nothing goes to waste. That’s what matters to me.
If you’re managing a real homestead pantry, here’s how I do it.
What My Setup Actually Looks Like
My home-canned goods live on metal shelving units with doors in the basement. The doors aren’t just aesthetic — they keep light out, which matters more than people realize for long-term jar storage. Light breaks down quality over time and can affect seals.
Dry goods and other pantry staples go on a couple of wooden shelving units nearby. Bulk items — flour, sugar, dried beans, things I buy in big quantities — go into food-grade five-gallon buckets with lids. Simple, practical, nothing fancy.
The Only Rule That Really Matters: Oldest In Front
If I had to boil my whole system down to one thing, this is it. Every time I put new jars on the shelf — whether it’s after a canning batch or restocking after a bulk purchase — new stuff goes in the back and older stuff moves to the front. That way I’m always reaching for what’s been there the longest.
It sounds obvious, but it’s really easy to skip when you’re tired after a long canning day. You just set the new jars down wherever there’s space and call it good. Then six months later you find a jar from two seasons ago buried in the back that you completely forgot about.
This is called FIFO — first in, first out — and it’s the same thing grocery stores and restaurants do. It works. I’ve never lost a jar to it being forgotten since I started doing this consistently.
The Annual Reorganization
Once a year, after the main canning season is done, I pull everything off the shelves and do a full reset. I check every jar for seal issues, sort everything by type and date, and restock with the newest jars in the back and anything left from last year in front.
This is also when I do a full count of what I actually have. It takes a few hours and I won’t pretend it’s my favorite afternoon, but it is genuinely worth it. It tells me what I used up, what I over-canned, and what I need to make more of next year. I’ve learned things from this that I never would have figured out otherwise — like that my family goes through chicken broth way faster than I thought, and that fifteen quarts of beets was about thirteen too many.
Doing this once a year means I’m never guessing, never buying something at the store that’s already in my basement, and never opening a jar only to wonder when on earth I made it.
Keeping Different Things Separate
Home-canned goods, store-bought canned goods, everyday pantry items, and bulk long-term storage are all different enough that mixing them together just creates confusion. They have different shelf lives, different rotation needs, and different reasons you’d reach for them.
I keep mine physically separate — home canning on the enclosed metal shelves, bulk dry goods in the buckets, everyday stuff on the wooden shelves where I can grab it without going into the main storage area. It sounds like a lot of sections but it makes daily life a lot easier. I’m not digging past three-year supplies just to find the pasta for tonight.
Label Everything, Every Time
I know this feels obvious but it’s worth saying: an unlabeled jar is a problem waiting to happen. Six months later in a basement, “clear liquid in a quart jar” could be chicken broth, apple juice, or canned pears. I’ve had to do the smell test more than once on something I was convinced I’d remember.
I use masking tape and a Sharpie. That’s it. Contents and year at minimum, month if I have the extra two seconds. No special labels, no matching anything. Just enough to know what I’m looking at.
Knowing What You Have Is the Real System
The shelves and the labels are just the physical part. The actual system is knowing what’s in your pantry without having to stand in front of it and count. When I know what I have, I can plan meals around it, decide what to can more of, and avoid the “I was sure we had more of that” conversation at 6pm when I’m trying to make dinner.
I update my inventory twice a year — once after the annual reorganization when the new season’s canning goes in, and once around mid-winter when things start getting used up. It doesn’t have to be complicated. Just a count by category is enough to make a real difference.
The Tools That Make It Easier
If you want a ready-made system for all of this instead of building your own from scratch, my Kitchen Inventory & Pantry Audit has everything in one place — audit sheets, ongoing tracking, and a structure that works whether you’re doing your first pantry cleanout or your tenth annual reorganization.
Get the Kitchen Inventory & Pantry Audit →
If bulk buying is a big part of how you stock your pantry, I’ve also got a Bulk Buyer’s Pantry Planner built specifically for managing large-quantity purchases — tracking what you bought, how much you have left, and when to reorder. It also comes in a version with an editable Excel spreadsheet if you prefer to track digitally.
Get the Bulk Buyer’s Pantry Planner →
If you’re building up your home-canned pantry and want to make sure you’re doing it safely, Water Bath vs. Pressure Canning: Which One Do You Actually Need? is a good place to start.