Why I Stopped Canning My Salsa (And Started Fermenting It Instead)
For years, salsa was one of the first things I canned every summer. It made sense — tomatoes were coming in fast, salsa is one of those things you can never have too much of, and canning meant shelf-stable jars I didn’t have to think about again until I opened one. There was just one problem: I never loved the texture. Canned salsa, no matter how careful I was with processing time, always came out soft. Almost mushy. Good flavor, disappointing bite.
A few seasons ago I started fermenting it instead. The texture problem disappeared, the flavor actually got better, and I haven’t gone back to canning a single batch of salsa since.
Why Canning Softens Tomatoes (And Fermenting Doesn’t)
Canning requires heat — that’s the whole point, and it’s non-negotiable for safety. But heat is also exactly what breaks down a tomato’s cell structure, which is why canned tomato products are reliably softer than fresh. There’s no way around this with canning; it’s simply a tradeoff that comes with the method.
Fermentation works completely differently. There’s no heat involved at all — instead, salt creates an environment where the natural bacteria already living on your vegetables can do the preserving work. Without heat breaking down cell walls, fermented salsa keeps significantly more of its original texture. The salt itself actually helps here too: a proper salt concentration firms up cell structure rather than softening it, which is the opposite of what canning’s heat does.
That’s the real reason behind the texture difference, and once I understood it, switching methods felt obvious in hindsight.
My Method (Not a Fixed Recipe)
Here’s the thing about how I actually make this: I don’t use a fixed recipe with exact cup measurements. I use whatever combination of tomatoes, onion, garlic, and peppers I’ve got from the garden or a farmers market haul that week, chop everything to the consistency I want, and then do the math by weight.
The process:
- Chop your tomatoes, onion, garlic, and peppers to your desired consistency — chunkier or smoother, whatever you prefer.
- Weigh the total combined vegetable mixture.
- Calculate 2% of that total weight in salt. For example, 1000g of vegetables needs 20g of salt.
- Mix the salt thoroughly into the vegetables.
- Pack into a jar, pressing down so the natural liquid covers the mixture, leaving some headspace for expansion.
- Weight it down if needed to keep everything submerged, and either loosely cap or use an airlock lid.
- Let it sit at room temperature for several days — I generally start checking around day 3-4, depending on how warm my kitchen is.
- Once it tastes pleasantly tangy rather than just salty, move it to the fridge to slow fermentation way down.
This weigh-and-calculate approach means I’m never locked into a specific recipe or stuck because I’m short one ingredient. Whatever ratio of vegetables I’ve got works, as long as the salt percentage is right.
The One Ingredient Choice That Actually Matters for Texture
If there’s one thing I’d tell someone before their first batch, it’s this: tomato variety makes a real difference in final texture.
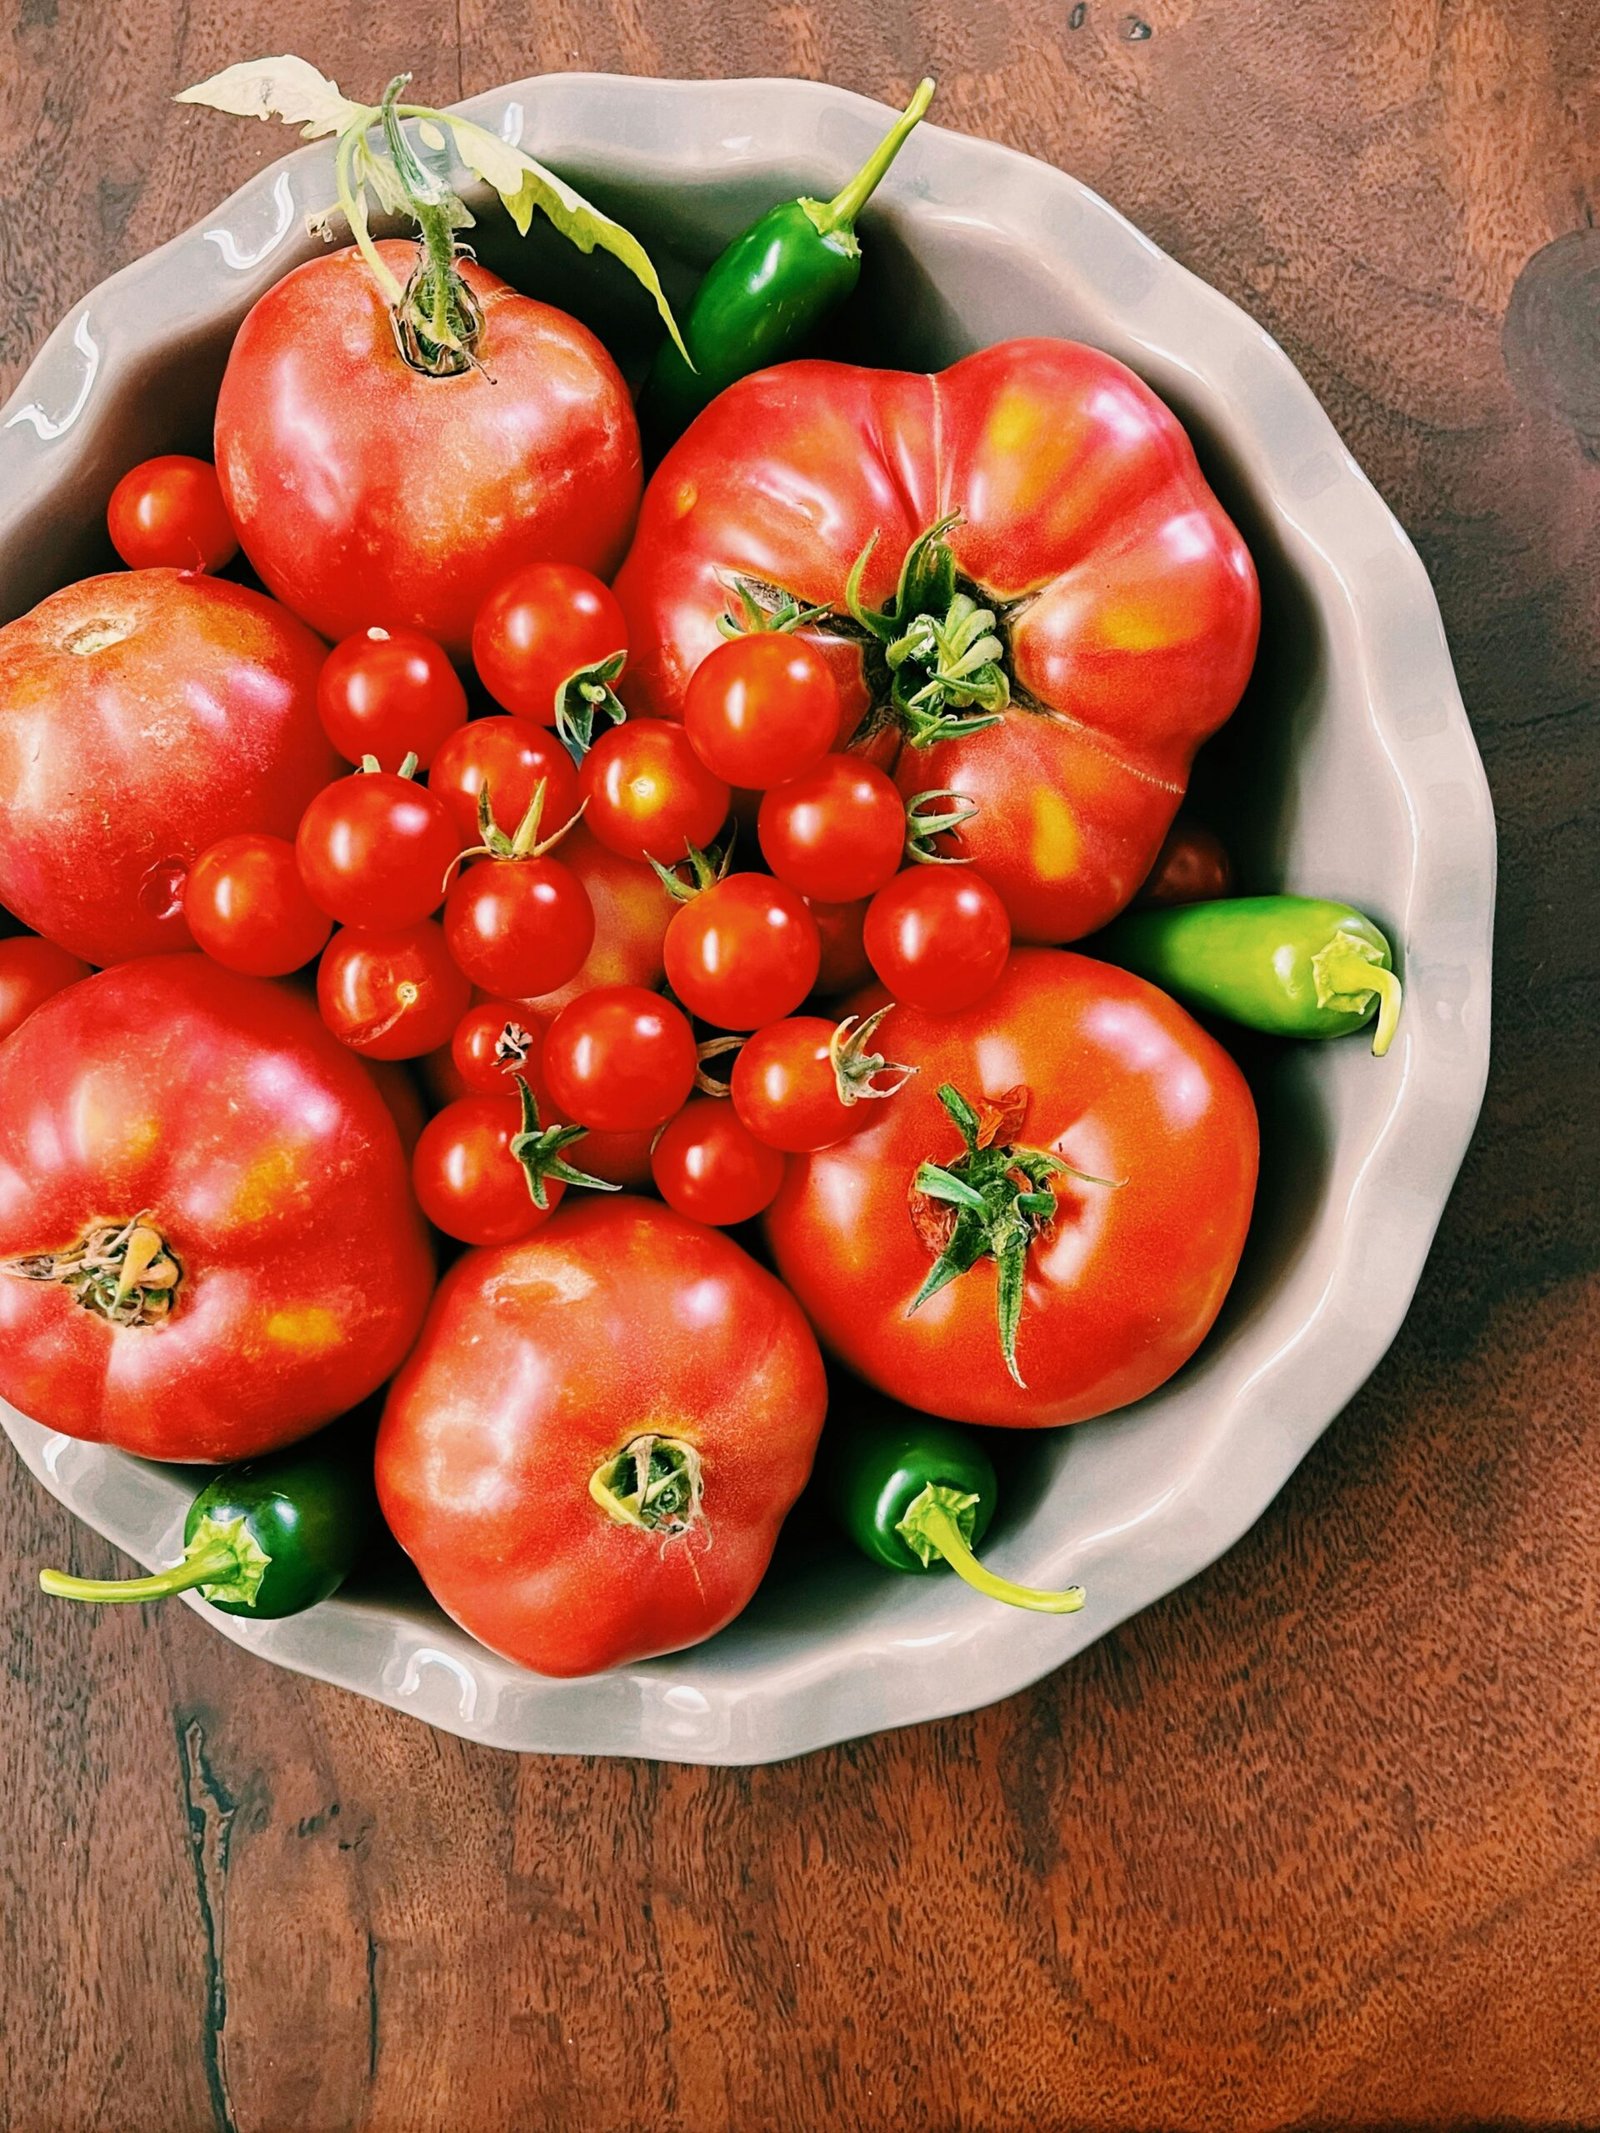
Roma tomatoes, or other meaty, lower-water paste-style tomatoes, hold their structure much better through fermentation. They stay firm, with a pleasant bite even after several days of fermenting.
Slicing tomatoes — the juicier, higher-water varieties most people grow for sandwiches and salads — break down considerably more during fermentation. They still ferment safely and taste great, but you’ll end up with a noticeably softer, almost saucier texture rather than the chunkier bite Romas give you.
If texture is the whole reason you’re considering fermenting over canning (like it was for me), this is the detail that actually delivers on that promise. Using slicing tomatoes and still ending up with soft salsa would be a frustrating, avoidable letdown.
A Few Things I’ve Learned Along the Way
Skip canned tomatoes entirely. Fresh produce carries the natural bacteria that make fermentation work in the first place — canned or cooked tomatoes won’t ferment properly, since that bacteria has already been destroyed by heat.
Temperature changes your timeline. A warm kitchen ferments faster, sometimes ready in as little as 2-3 days. A cooler spot takes longer. There’s no single universal “day 5 is done” — taste is the real test.
Trust your nose and your taste buds. Properly fermented salsa smells pleasantly tangy, not off or rotten. If something smells distinctly wrong, or you see mold, don’t risk it — discard and start fresh.
It keeps longer than you’d think. Properly fermented and refrigerated, this salsa holds up well for months, not just days — genuinely useful for stretching a big tomato harvest.
Same Safety Standard, Different Method
If you’ve read anything else on this blog, you already know I take food safety seriously, and fermentation is no exception. The same safety threshold that governs safe canning — a pH of 4.6 or below — is also the benchmark fermented foods need to hit. A properly fermented salsa, given enough time, comfortably gets there. If you ever want certainty rather than taste-testing alone, a basic pH meter is an inexpensive way to confirm you’re well within the safe range before eating.
Want the Full Method, Written Down?
This is genuinely the salsa I make every single year now — no more soft, mushy jars, just better texture and better flavor than canning ever gave me.
If you want this whole process broken down step by step, with the exact ratios, timing guidance, and troubleshooting notes, my Fermented Salsa Recipe Guide is built around exactly this method.
Get the Fermented Salsa Recipe Guide →
New to fermentation in general? Read Sauerkraut, Kimchi, or Pickles: Where Beginners Should Start for the fundamentals before diving into salsa.