Canning Jam and Jelly for Beginners: The Best First Canning Project
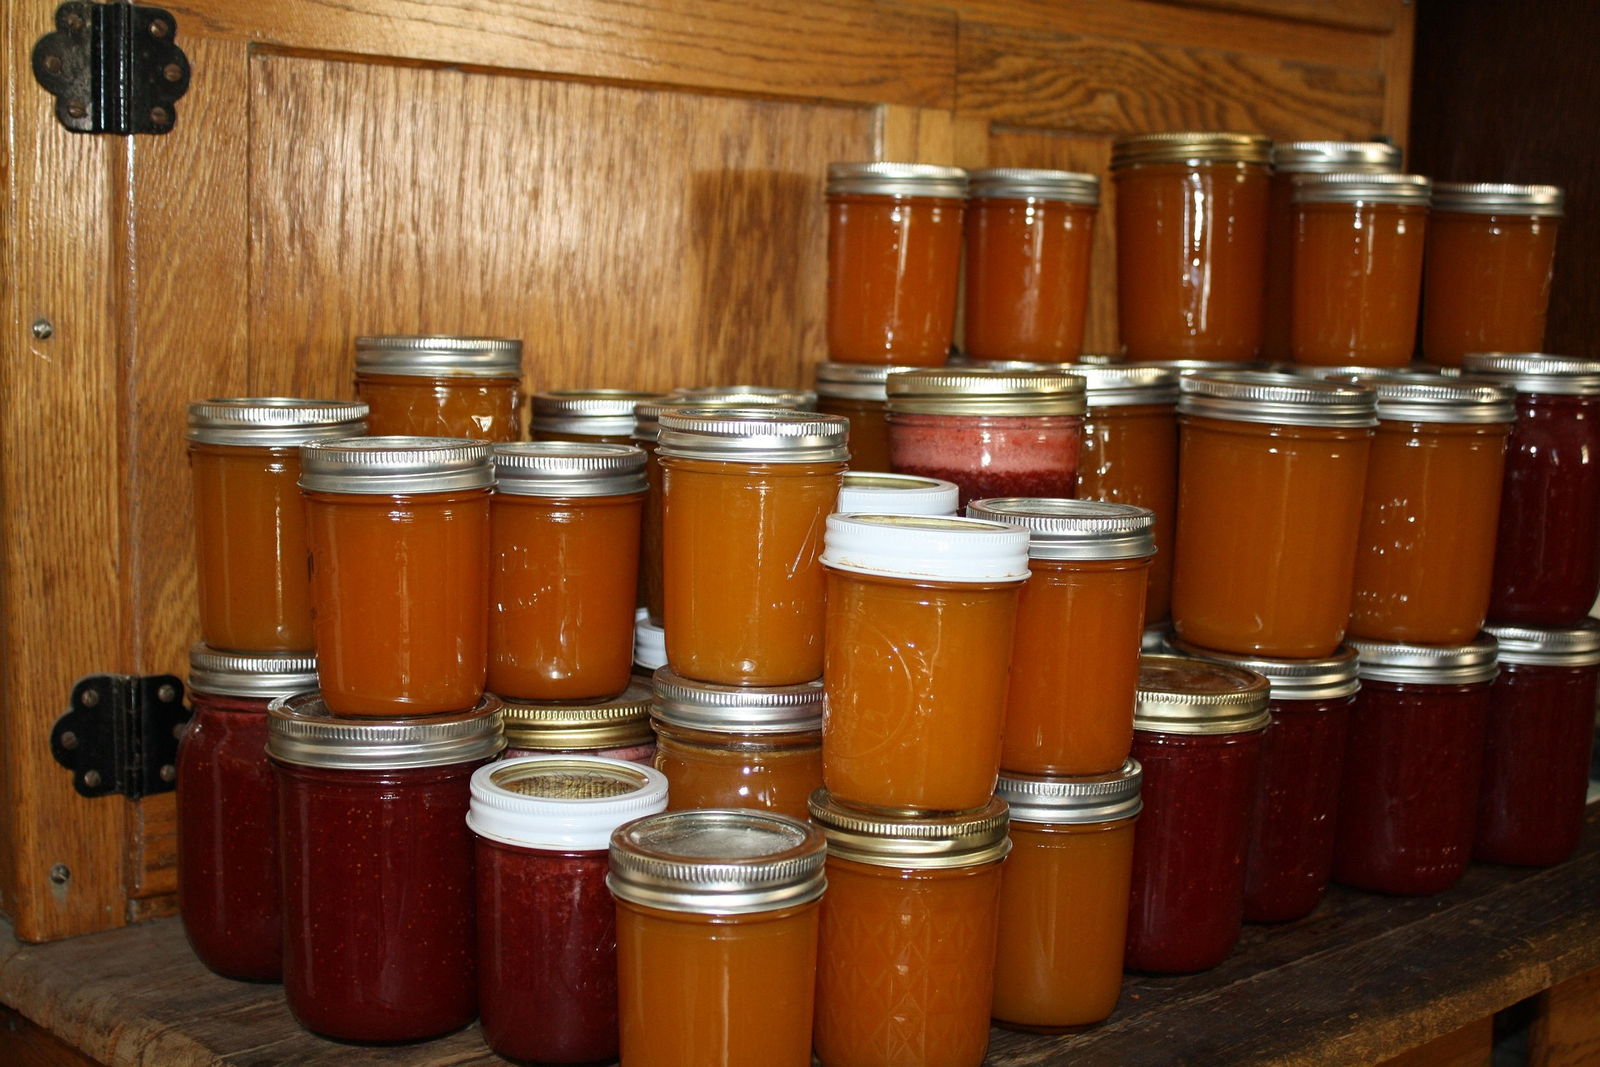
If you’ve been curious about home canning but nervous about where to start, jam is my honest recommendation. Not because it’s the most useful thing to can — though a pantry full of homemade strawberry jam is pretty great — but because it’s genuinely forgiving, fast, and teaches you the water bath process without the pressure (literally) of more complex projects. Here’s what you need to know.
Why Jam Is the Right First Project
It’s water bath only. No pressure canner needed. You can start canning jam with a large pot you already own, a rack, and a few basic tools. The barrier to entry is lower than almost anything else you can preserve.
Small batches are completely fine. You don’t need a bushel of anything. A few pounds of strawberries or a flat of peaches is more than enough for a meaningful first batch. Small batches mean smaller consequences if something goes wrong while you’re learning.
It processes fast. Most jams process for 10 minutes in the water bath. The whole project from start to finish takes a couple of hours, not all day.
The signs of success are clear. A popped lid, a concave seal, the satisfying ping as jars cool — these are immediately visible. You know right away if it worked.
The Science Behind Why Jam Is Safe to Water Bath
<cite index=”58-1″>Water bath canning is safe for high-acid foods only, including most fruits, jams, jellies, pickles, relishes, and tomatoes with added acid.</cite> Jam qualifies because it combines naturally high-acid fruit with enough sugar to create an environment where dangerous bacteria can’t thrive. The water bath processing then destroys any remaining mold, yeast, and bacteria.
This is why you can’t just swap in low-acid fruit or reduce the sugar significantly without consequence — both acid and sugar contribute to the safety of the finished product, not just the set and flavor.
What You Need
Fruit: Use ripe, fresh, disease-free fruit. Home canning cannot improve quality — underripe fruit gives you less pectin and flavor, and overripe or damaged fruit can affect the set and safety of the finished product. Use what’s actually in good condition.
Sugar: Don’t reduce sugar dramatically in a standard pectin recipe. Sugar isn’t just for sweetness — it’s part of the preservation and gelling system. If you want a low-sugar or no-sugar jam, use a pectin specifically formulated for that purpose (like Pomona’s Pectin), not a standard recipe with the sugar cut back.
Pectin: Many fruits have enough natural pectin to gel without added pectin, particularly when you use slightly underripe fruit (which has higher pectin levels) or combine high-pectin and low-pectin fruits. If you’re using a recipe that calls for commercial pectin, use the type it specifies — liquid and powdered pectin are not interchangeable in most recipes, and adding pectin longer than directed before the rolling boil can break it down and prevent the jam from setting.
Acid: Most fruit jam recipes include some form of acid (often lemon juice) even when using high-acid fruit. This contributes to flavor, color, and the gelling process alongside the pectin.
A Note on Lids Before You Start
Don’t simmer your lids before use — this used to be recommended but is no longer required and can actually damage the sealing compound if you boil them. Keep them clean and ready but skip the simmering step. <cite index=”58-1″>If your processing time is 10 minutes or longer, the jars will be sterilized during processing</cite>, so you don’t need to pre-sterilize jars for standard jam recipes.
The Process (What Actually Matters)
Use a tested recipe. This is the most important thing I can tell you for jam as much as any other canning project. The ratio of fruit to sugar to pectin in a tested recipe has been specifically calculated for that combination of ingredients. A recipe from the Ball Blue Book, the NCHFP website, or your pectin manufacturer’s insert is tested. A recipe from a random Pinterest board is often not.
Cook at a full rolling boil. A rolling boil is one you can’t stir down — not just bubbling gently, but a vigorous, vigorous boil. This is what activates pectin and drives off enough water to get the proper concentration for gelling. Undercooked jam doesn’t set. You can’t undercook it visually — use a thermometer if you’re unsure (220°F at sea level is the gel point, adjusted down about 2°F per 1,000 feet of elevation).
Wipe the jar rims. Any jam residue on the rim prevents a clean seal. Wipe each rim with a clean damp cloth before putting the lid on, every single time.
Don’t tilt jars while they cool. Let them sit completely undisturbed for 12-24 hours. Tilting or moving them can interfere with the sealing process as the vacuum forms.
What to Do If Your Jam Didn’t Set
Runny jam is a common first-batch problem and almost always comes down to undercooking, too little pectin, or inaccurate measurement. <cite index=”58-1″>You can re-process runny jam by bringing it back to a boil with additional pectin, or simply enjoy it as syrup.</cite>
Syrup on pancakes and in cocktails is not a failure. It’s a pivot.
Start With Strawberry
If you’re choosing your very first jam to make, strawberry is my suggestion. It’s a fruit almost everyone has access to, the flavor is universally appealing, it’s high-acid, and the color is beautiful in a jar. Strawberry jam is also the most gifted homemade preserve for a reason — people genuinely love receiving it.
The Full Guide for Everything Else
Once you’ve got jam down, water bath canning opens up to fruit preserves, pickles, tomatoes, salsa, and more. My Home Canning for Beginners Guide covers the full water bath process with five beginner recipes to start with.
Get the Home Canning for Beginners Guide →
Ready to try something beyond fruit? Read Water Bath vs. Pressure Canning: Which One Do You Actually Need? to understand what comes next.