What Equipment Do You Actually Need to Start Canning?
The equipment lists for home canning can look overwhelming. Canners, racks, jar lifters, funnels, headspace tools, lid wands, jar wrench sets — it starts to feel like you need a full kitchen overhaul before you can put up a single jar of jam. You don’t. Here’s what actually matters and what you can skip.
The Stuff You Actually Need
A large pot with a rack — for water bath canning
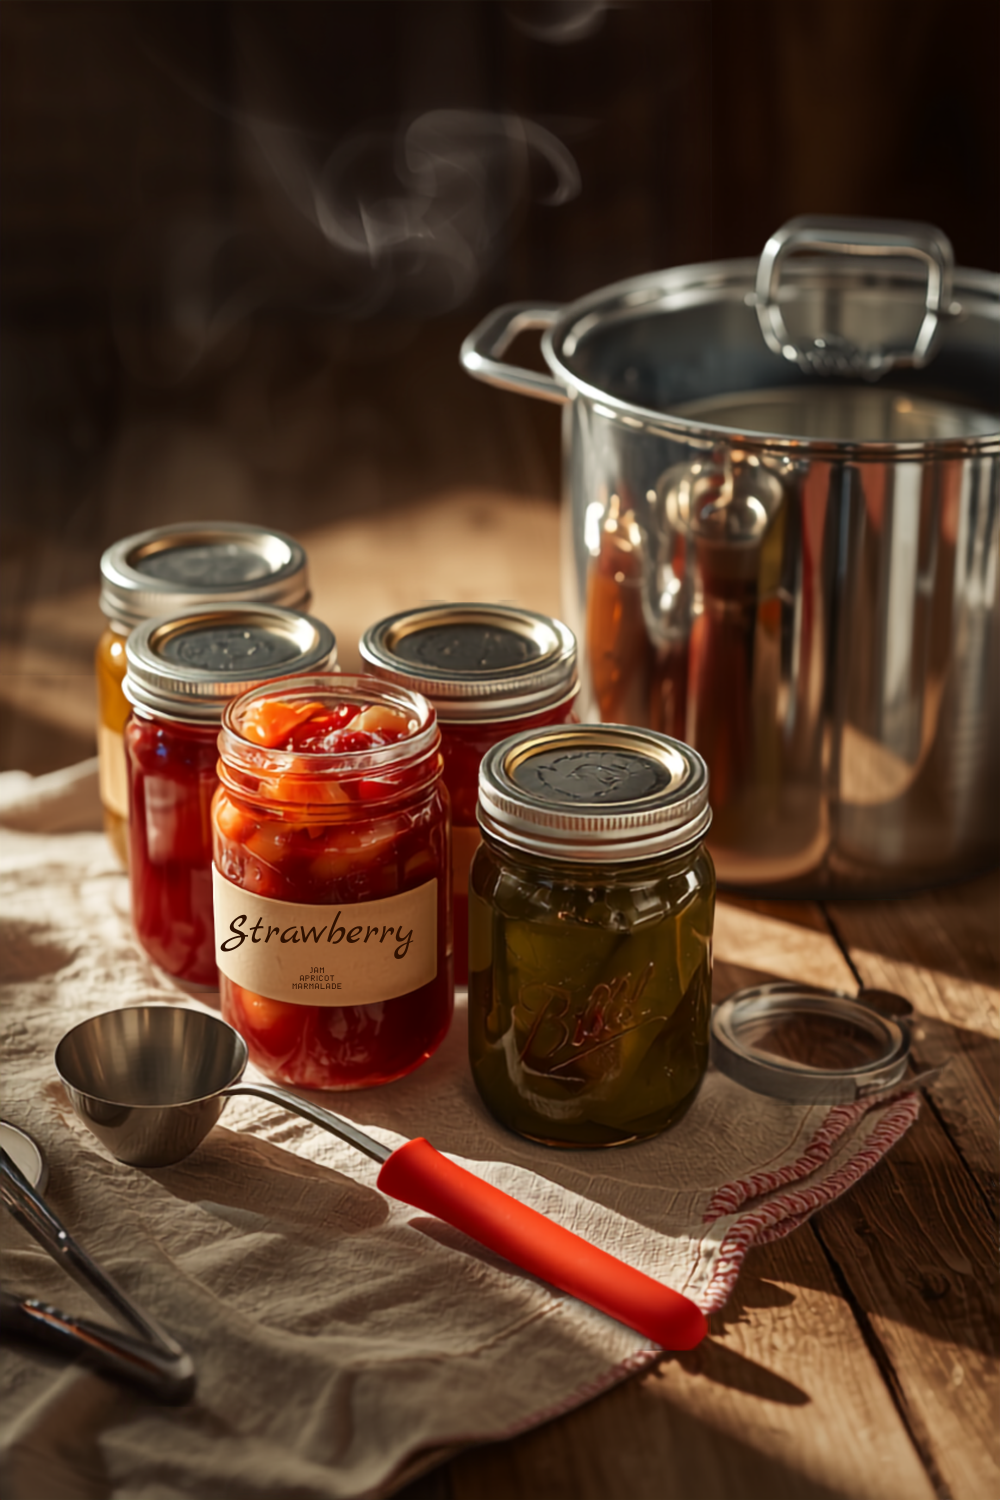
You don’t need a dedicated water bath canner to start. Any large pot that’s deep enough to cover your jars by at least an inch of water works. The rack matters more than the pot — you need something to keep jars off the direct heat of the bottom so they heat evenly and don’t crack. A folded dish towel works in a pinch, though a proper rack is cheap and worth having.
If you do buy a dedicated water bath canner, they run $30-50 and come with a rack included. A large stockpot you already own works just as well.
A pressure canner — for low-acid foods
This one you can’t substitute. A pressure canner is not the same thing as a pressure cooker — a pressure cooker isn’t large enough to hold multiple jars and doesn’t regulate pressure reliably enough for safe canning. If you’re canning vegetables, meat, beans, broth, or any other low-acid food, you need an actual pressure canner.
They’re an investment ($80-150+ depending on brand and size) but last decades with basic maintenance. If you’re only doing water bath canning at first — jams, pickles, tomatoes, fruit — you can hold off on this.
Mason jars
Not any glass jar — actual Mason jars (Ball, Kerr, or similar) designed for home canning. Commercial food jars (pasta sauce jars, pickle jars from the store) aren’t made to withstand the pressure and temperature swings of canning and can fail unexpectedly. Don’t reuse them for canning.
Jars themselves can be reused indefinitely as long as they’re not chipped or cracked. Check the rim every batch — a tiny chip on the rim is enough reason to retire a jar from canning.
New lids every batch — rings can be reused
The flat lid with the sealing compound is single-use only. The sealing compound compresses during processing and won’t form a reliable seal a second time. The screw-on band/ring is reusable as long as it’s not rusty or bent.
Lids are cheap (about $3-4 for a dozen). Always use new ones.
A jar lifter
Non-negotiable. You’re lifting glass jars full of hot food out of boiling water or a pressurized canner. Improvising this with tongs or kitchen towels is a genuine burn and drop risk. A jar lifter costs about $8 and lasts forever.
A wide-mouth funnel
Not strictly required but genuinely useful — it keeps the jar rims clean during filling, which prevents the mess that can cause seal failures. About $5, and worth it.
A bubble remover / headspace tool
A thin plastic spatula or a chopstick works for removing air bubbles. The dedicated tool also has headspace measurements on the side, which is convenient. Either works — the important thing is doing the step, not having the specific tool.
Clean towels
For wiping jar rims before applying lids. Any clean lint-free cloth works. Some people use paper towels dampened with white vinegar for greasy foods like meat.
A tested recipe
Not equipment exactly, but actually the most important item on this list. USDA-tested recipes from the National Center for Home Food Preservation (nchfp.uga.edu) or the Ball Blue Book are the standard. Don’t improvise canning recipes from Pinterest or personal blogs that don’t cite a tested source — processing times and ingredient ratios have been specifically developed and lab-tested for safety.
What You Don’t Need Right Away
A dedicated canning pot — your largest stockpot works for water bath.
A lid wand — useful for lifting lids out of hot water, but a fork works fine.
A jar wrench — you shouldn’t be overtightening lids anyway (fingertip tight only), so this isn’t needed.
A steam canner — the USDA has recently approved certain steam canners for high-acid foods, but they’re not equivalent to water bath for all foods and add an extra layer of “which foods qualify.” Start with water bath and add this later if you want.
A food mill or apple peeler — useful for processing large quantities of fruit, but a knife and patience work fine when you’re starting.
Start Simple
The first canning project doesn’t have to be a bushel of tomatoes. A small batch of jam or a few jars of dill pickles with a basic water bath setup teaches you the process without a large investment or a lot of produce at stake. Get the technique down, then scale up.
The Full Reference
If you want a complete guide to the water bath and pressure canning process — equipment use, processing times, troubleshooting, and five beginner recipes — my Home Canning for Beginners guide walks through all of it.
Get the Home Canning for Beginners Guide →
Ready to choose your first project? Read Water Bath vs. Pressure Canning: Which One Do You Actually Need? to figure out where to start.